Sunday, 3 January 2016

VISUAL DESIGN - CHRISTMAS HOMEWORK - SKELETONS

CHRISTMAS HOMEWORK - SKELETONS 

For our Christmas task we were set to study the human anatomy, in particular the skeleton. I Learnt which bones were called what, from a list we were given. I then  sketched up some of the important bones in my sketch book, as this was the first task f the homework.


I drew up a variation of bones from the anatomy list we were given. Some which I knew and some which I didn't know what or where they were on the body. The skull is my favorite of all as it looks the most realist and I like the angle it is on. However I would have liked to add some shading to it and the other bones. 


I kept my three skeletons fairly simple however I had to include detail to use to label the different parts. The middle is my favorite of the three because it includes all of the skeleton, the first one cut of slighting so I would perhaps move it up a little so the feet can be included in it. 

I distributed the labeling across all three including some joints and all the listed parts of the anatomy, plus some more. This was a good and fun exercise to do because I like working with traditional media as I am used to using this for other previous art projects. 


Thursday, 10 December 2015

GAMEPLAY AND INTERACTIVITY - FIRST PERSON SIMULATOR - SCREEN SHOTS


SCREEN SHOTS

Final screens of my first person simulator in Unity. These will be used for the final hand in for this term.


LIFE DRAWING - UPDATE

LIFE DRAWING UPDATE 


I really like using ink to complete this piece as it was something new and I really liked using this in past experimentation with drawing and projects. I wanted to do more of the ink on other pieces as this was refreshing and good to use. 


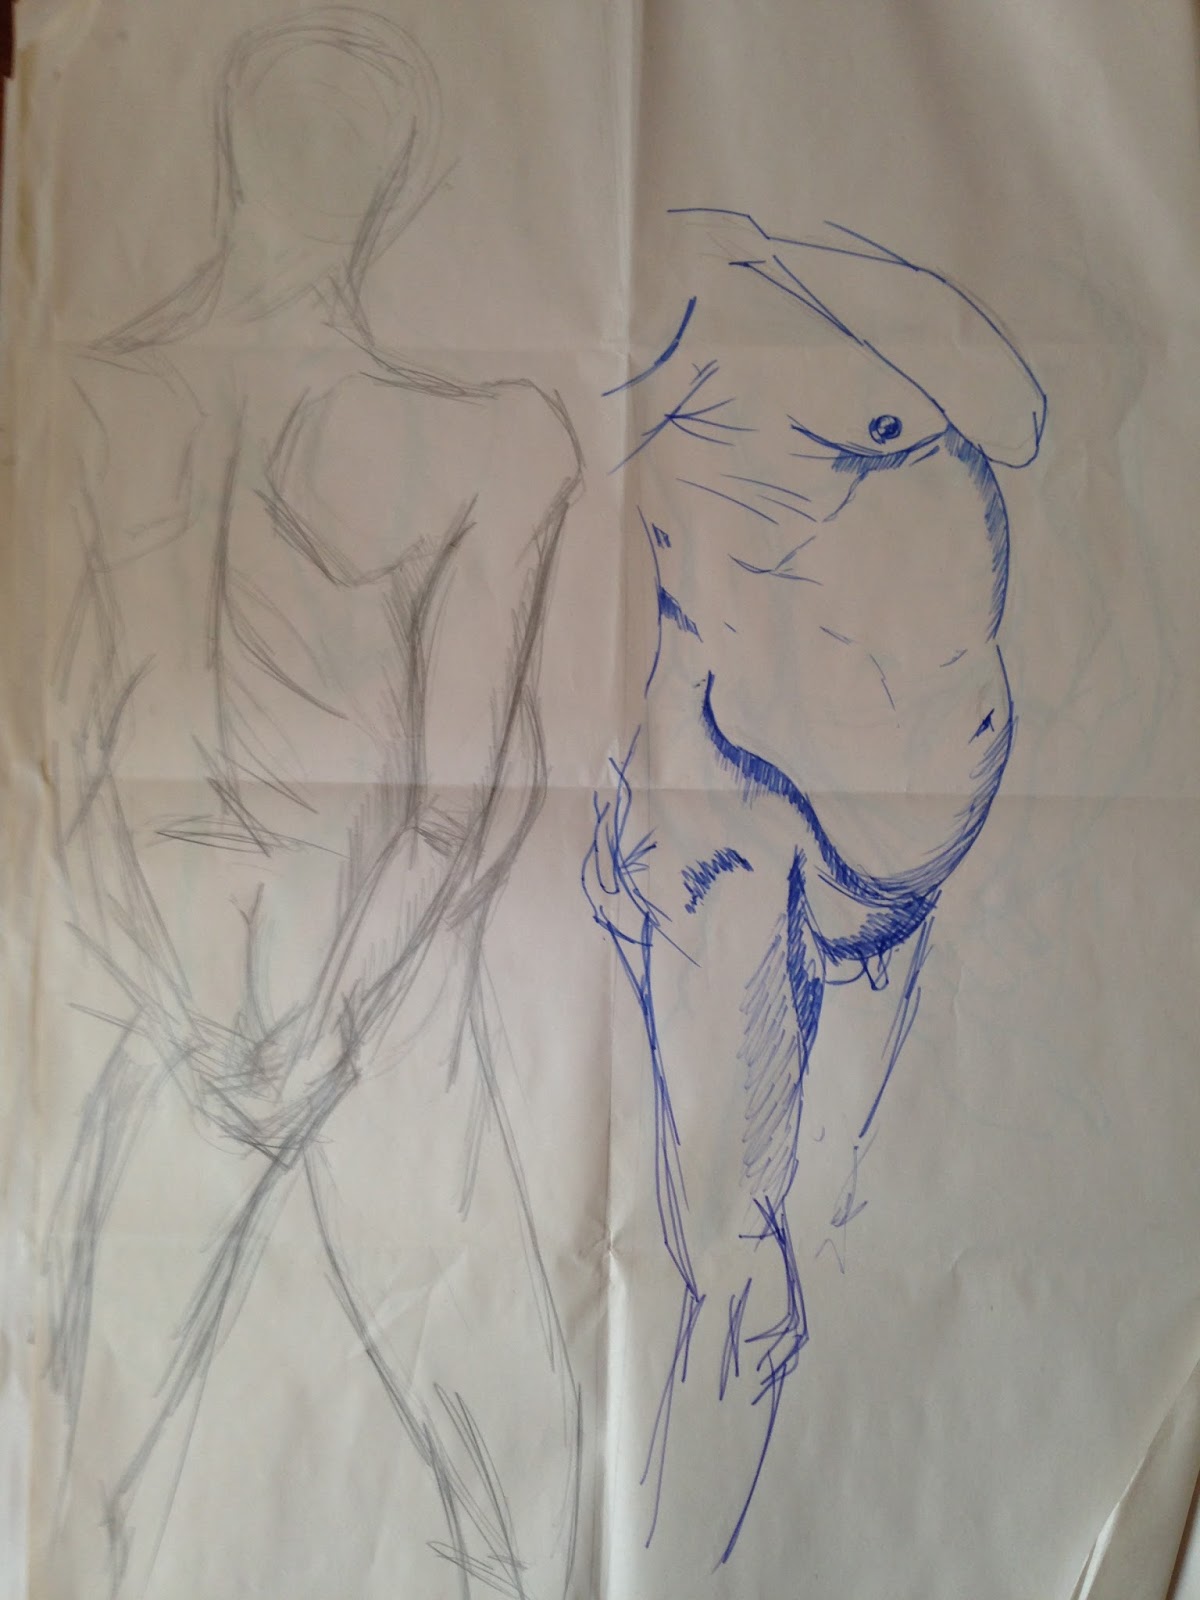
Some rough 2-3 min warm up sketches other model in different poses. These I find im getting better at as I understand more of the human from. 


This piece was using both hands at the same time with different media. This was great fun and also challenging at the same time. I found myself much preferring the right hand sketch. Which is not my usual hand for drawing. 


Some quick sketches of the model using colour pens and continuous line drawing. I noticed once completed that the left hand sketch, was of center so it looks like the model is leaning on and angle, I addressed this on the image by including an angle of approach I can change it to. 


This last piece was a quick 5 min sketch of the model, then we were to label the specific parts of the anatomy, as ere were simultaneously learning about anatomy at the time of life drawing session. 


Wednesday, 2 December 2015

3D DESIGN - BATTLE ARENA VERSION 4 TEXTURED

BATTLE ARENA VERSION 4 AND UNITY TEXTURED


The fourth version of my arena made me assess the problem when I took it into unity and the second island was not showing up too well. There were parts not showing because of sections that were too small. This resulted in me having to delete this part and the reshape the other two to fit. This worked out better and was easier to texture.


To begin with the texturing I used the UV editor and colored the specific parts in a different colour just to indicate which ones I wanted to do in a chosen colour. This then gave me the basis to start using turtle and texture using quixel.


The textures used were scifi, and looked worn an industrial and were really what I wanted. Iam happy with how it turned out looking. I also added a skybox to it, giving it a great glooming atmosphere to help boost the setting and appearance of the whole arena.


Tuesday, 1 December 2015

3D DESIGN - TURIRIAL WAGON


WAGON TUTORIAL PART 1


Wagon prop tutorial firstly consisted of simple UV unwrapping so we could apply the UV Snapshot to mesh in Photoshop. I used a simple wooden texture that was large image format and used it for the basic texture. In part 2, we use more complex textures such as ambient occlusion to make the textures more high resolution and looks much more professional.


GAMEPLAY AND INTERACTIVITY - GREY BOX PROCESS


GREY BOX PROCESS


This is the final version of my battle arena, which I have changed a lot since the first milestone.


From the feedback given, I have changed the levels design so it is much longer and more than just one room. It now actually can be maneuvered around in instead of buggy areas which were too small or that I couldn't fir through.


Monday, 30 November 2015

VISUAL DESIGN - USING VALUE TO CREATE DYNAMIC FORM - CLASSWORK


VISUAL DESIGN - USING VALUE TO CREATE DYNAMIC FORM


Todays class work, was to copy colour swatches onto a silhouette of a robot. This was to help use with value and how to create dynamic form.

This was the finished copy of the robot that I did. I found this brief quite helpful and enjoyable, as it helped me to understand some  rules and lessons with character painting.


Once that was completed, I put the guidelines on and duplicated the robot, adjusting the leves to make it lighter as It became further from you.


This was a quick values and lighting process I did before moving onto the robot. This was very helpful and was great to do, because it gave me an understanding of how to use value and how to apply it to an image.